An idea… and many complications
Having a good idea, sometimes, is good. We’re even happy about it. Having to make it happen, that’s another story.
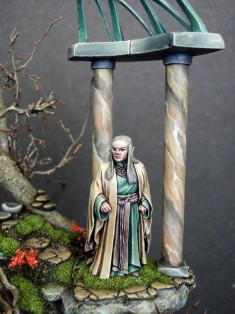
By having a mental concept for that new version of Celeborn, I really was seeing him posing under a dome made of some kind of interlacing material. All of this being supported by column of pink/beige marble, in a woodland setting. And then…I just had to do it!
To work!
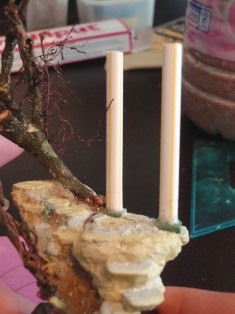
We start with a base made from the columns. Those are simply straws, filled with plaster.
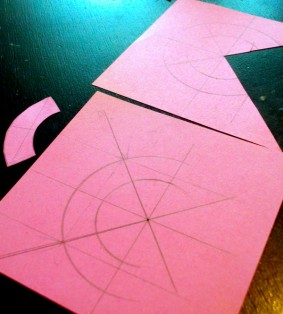
Then, we need to start working on a test blueprint, making sure to create the support of the dome. For this, we will use the spacing between our columns and the proportions of the miniature.
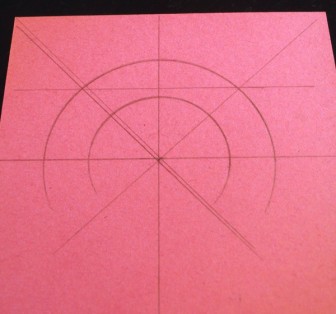
Once the test section is cut and put into place to verify that everything is working out, I copy the blueprint.
Satisfied now with the proportions, I put Milliput directly over my blueprint.

I squeeze it until I get the desired thickness.
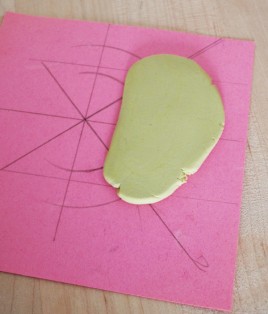
I need only to follow my pattern, by cutting my fresh putty using a compass, of which I replaced the pencil with a second metal point. It might be necessary to make several passes to make the cut.
The metal point which serves to cut must also be either wet or coated with talc. This is in order to obtain the cleanest cut as possible. While the putty is fresh I will take the opportunity to imprint a texture on the top.
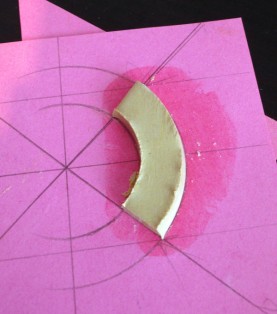
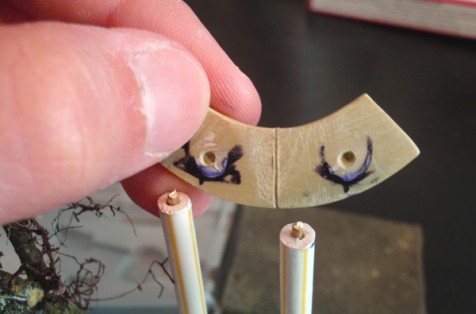
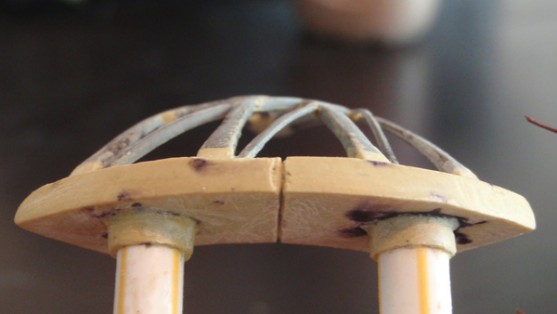
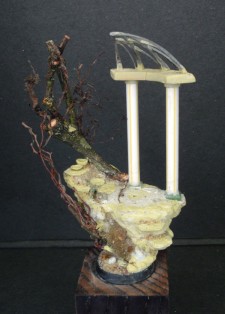
Once dried, sanded and engraved, here is the base that will support the dome.
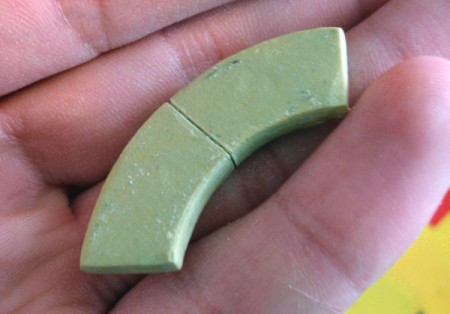
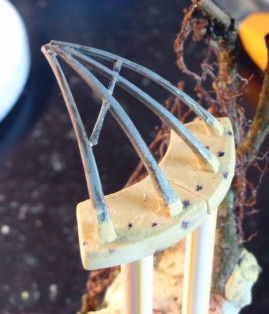
We only just have to place the strands, and glue them.
The Tree
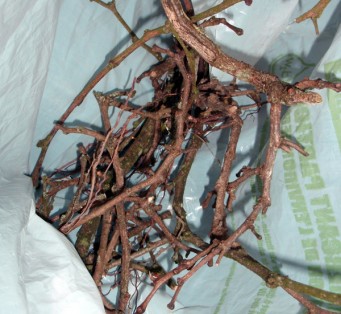
Before anything else, we need to go take a short walk in the woods to collect materials for the tree. Truly, what could be better for a model tree than real branches or roots, to obtain a realistic result?
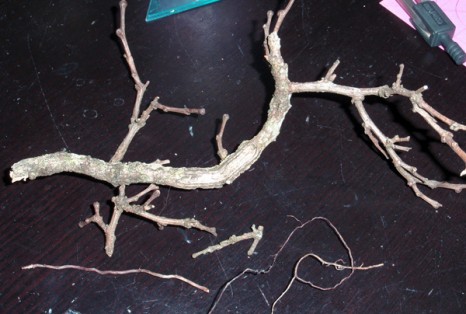
Beware however; gather dry branches, unless you want to have to wait until yours dry before you can begin painting it. If you forget about this, at long or medium term, the whole piece will rot under the layers of paint.
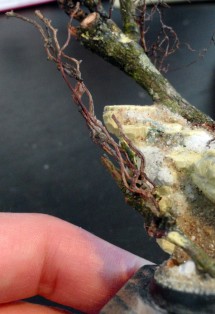
And now we need to break or cut the branches that we collected, so that we can create the various sections we want for the piece.
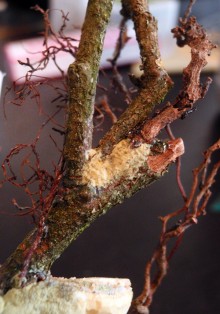
We will then glue these sections into the arrangement of our choice, to have a realistic tree in line with the overall composition we wish to create. Indeed, simply gluing the branches together without any reorganization will not yield good results.
The joints are filled with Milliput, and a texture is pressed into it with a bit of branch, so as to keep the whole piece looking the same.
Let’s Get Serious
The easiest part consists of only one thing: getting the remains of a plastic sprue.
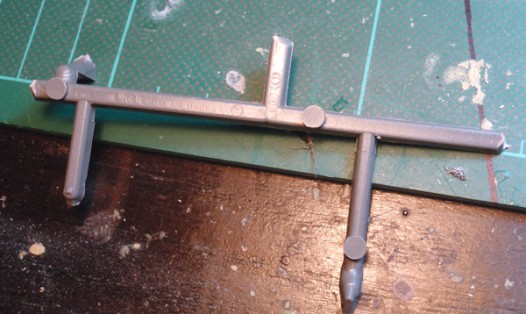
Then, I heat the sprue around the center and stretch them around a cup or glass. This is where it gets complicated. We get an enormous amount of filaments the thickness of a hair.
But what we need are filament sections of a width and thickness that are realistic for our project. Foremost, here, I’ll need four sections as similar in size as possible. This can take hours before getting exactly what we need!
Everything relies on the rapidity of the execution, and in using the right twist as the plastic gets thinner. We get the right result, more or less cleanly each time.
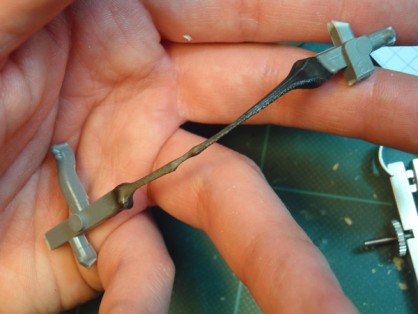
We then only need to take the required sections and sand them.
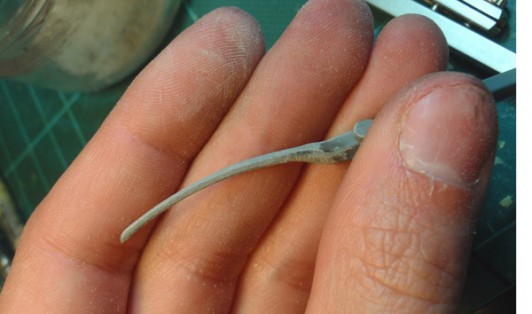
The four base sections are in place. The small dots will serve as guidelines for the final positioning.
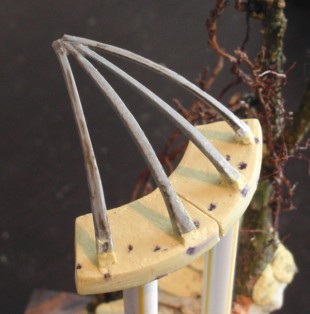
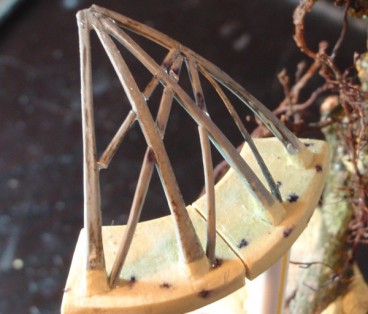
I start creating the first transversal section. For this, I recuperate one in the pile of stretched plastic sections. Then I cut it in three places.
It is the same for the transversal sections 2 to 4. Only the number of cuts changes as needed.
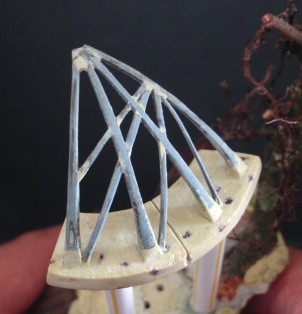
We only have to follow up by filling the gaps at the many junctions with Milliput.
Then I sand the whole piece to obtain a united piece of structure.
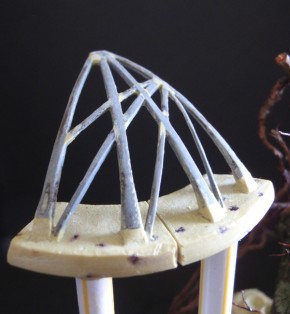
The base in its wholly assembled state, just before the undercoat. All in all, I needed around ten hours to create the dome.
The Painting
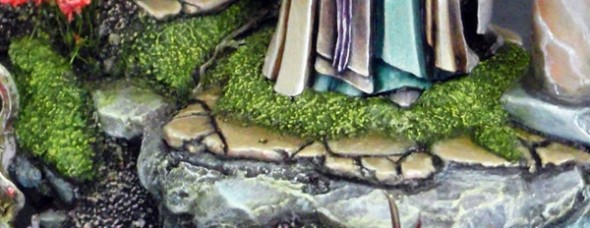
The base itself needed to be covered in vegetation. For the best result, in addition to the trees, I had decided to have our elf stand in the middle of a large bed of moss.
There’s no miracle recipe for our realization; it is just some Milliput tapped with the packing foam from a blister.
The paint itself is composed of a base of P3 Ordic Olive + Dark Angel Green.
The highlights were done by adding Naples’ Yellow, and then ochre and blue washes were used to shade the whole.
The last highlights were done with our base + P3 Cygnar Yellow.
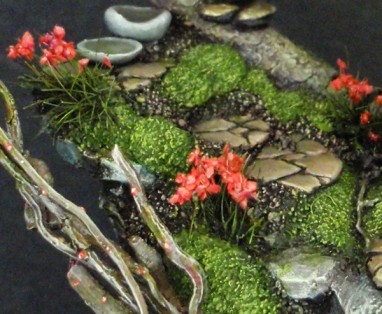
The flowers are ready-made little flowers that you can find in hobby stores. They come in many colors, so shop around. Having a certain palette in mind, I selected only red flowers that I glued to the base. Then, I repainted them directly without any undercoat, to create my slightly pastel roses.
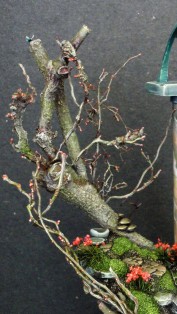
The tree was painted on a base of grey. Indeed, trees are rarely made of a united dark chestnut brown like we colored them when we were kids. Over this base of grey, I did a few drybrushes of cream colors. I then came back for a few washes in red, green and bluish brown.
The dome received a base of Andrea Color Turquoise with a little hint of green, with the addition of GW Jade Green.
I then lightened it with creams (like GW Bleached Bone and Prince August Ivory), before completing this highlight with Naples’ Yellow.
The shades were done with P3 Turquoise ink, with a rare few spots where I mixed it with a little black.
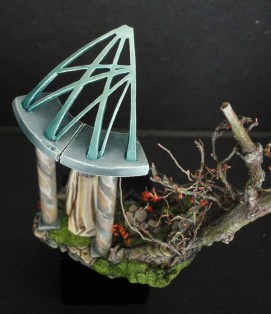
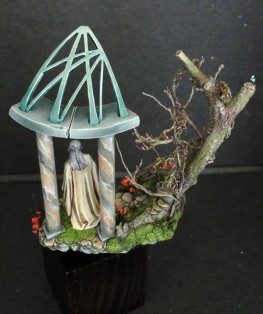
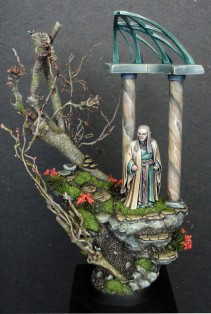
…And here is our finished dome, as well as the base for our miniature!
Approximately 70 hours were needed to complete this miniature in total; with a ratio of 55 hours for the base (scratch building and painting it) and 15 hours for the model itself!
Who said I preferred to make scenery?
And to see more pictures of this miniature, you can click on this link !


