If there is one indispensable tool for our hobby, it is undoubtedly the paintbrush. Without it, no miniature can get painted cease to be interesting. However, the acquisition and maintenance of a brush are not as trivial of tasks as you might think. There are several pitfalls along the way that you don’t want to fall into.
The Choice
Pig hair brushes, synthetic or sable hair; there are many different kinds of brushes. We could debate on the benefits for each according to a particular use, but one thing will always be certain: whether you are a tabletop or competition grade painter, the quality of the tool is essential. In fact, many would agree… a marten hair brush is the Rolls Royce of our community.
Different brands exist. At the price to quality ratio, it seems logical to state that the Raphael brand is at the top spot with its Kolinsky 8404. Windsor and Newton brushes are preferred by some. After testing both personally, I finally found that it is more a matter of taste than actual differences in quality, with both being high end products.
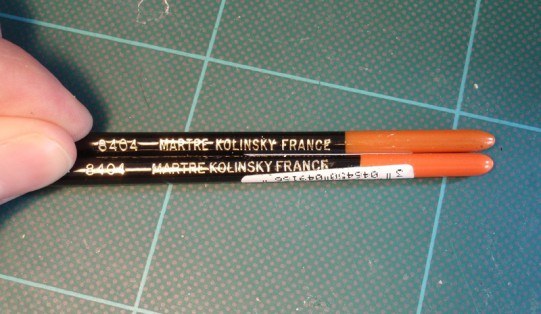
Whatever the case, it is therefore necessary to look at three things very closely :
- The price :
Comparing one seller to another, one can see the price increase from 25 to 40%. One should therefore be cautious and compare prices before proceeding to checkout.
- The place of purchase :
Always buy your brushes in a store, in person if possible. This allows you to check if the brush has a flawless tip or if it has been mishandled at some point.
- The size :
Avoid buying brushes too large or too small for your tasks. The sizes of brushes vary widely, from triple zero (also called “triple aught”) to size 4 or more; with smaller numbers equating to thinner, more precise tips. Most often a standard painter will find that a size 1 brush and a size 3 is sufficient for almost everything. Buying a double, triple or single zero is in the end useless for all but the extremely specific purposes. However, a good brush, no matter its size, should have a good, fine, tip that can be used for fine details (eyes, fine lines, etc.). In the end, the smaller the brush is, the smaller its tank (the area of brush that holds the liquid portion of the paint) will be. However, if one is just starting out and do not have a brush with a good tank for water reserve, he will quickly end up with the paint becoming dry, grainy, and chalky.
Styles may vary, but the ideal brush is a brush size of 1, perfect for 28/32mm figures; useful for all surfaces. For a monster or a larger figure, the preferred brush size is 3 or 4. This larger size will cover a much wider area, and the larger tank/reserve is best suited for long strokes for blending and fading. With only these two brushes, I painted both Lord of the Rings miniatures and the towering Forgeworld Lord of Change. In short, unless you need specialist tools… why bother with it too much?
The Don’ts
There are many things you may not know to do or not do that can have catastrophic results concerning the longevity of your brushes.
It is important not to use hot or warm water as water rinse. The heat can cause the glue holding the bristles in the brush to dissolve. Hairs start standing or falling out, and gradually we are left with a size 3 having as much hair as a triple zero…
In addition, you should never use the brushes used for flat areas or blending for dry brushing. It will destroy the tip with repeated usage, as well as breaking some hairs.
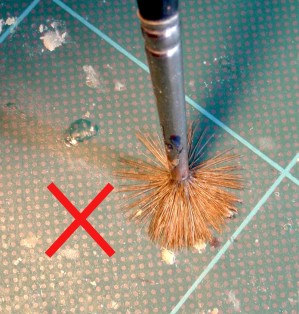
We tend to avoid synthetic brushes for drybrushing. Sable, low-end marten or pig hairs are much stiffer – which is perfect for this purpose.
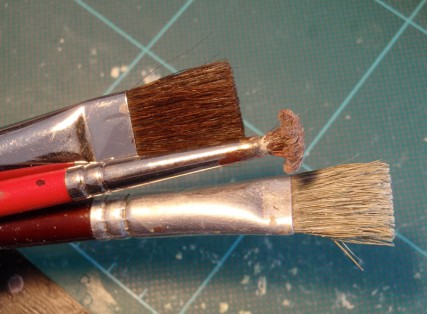
If one wishes to spread PVA glue, Superglue, or any product other than the acrylic paints on a model or base, we use a brush dedicated for this very purpose. Therefore we make sure to have a brush for the PVA, one for mixing mediums, one for acetone, etc… For these cases, cheap brushes can do the trick.
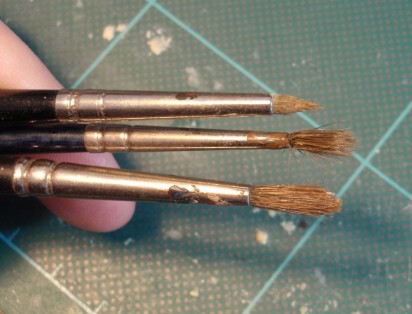
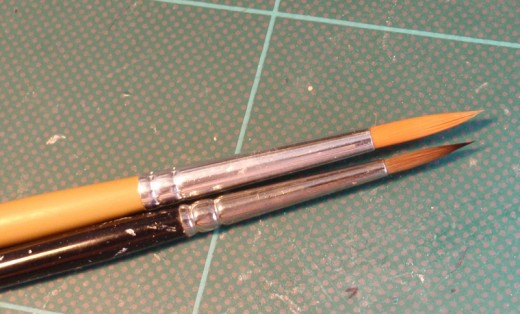
Another very important thing: you should never let paint collect on the “ferrule”, the area above the hairs. As the paint dries, it eventually ends up doing great damage to the brush, which greatly drops its quality. When cleaning, you should shake your brush in water or roll it against the sides of the water reservoir to clean it without the hair ever rubbing against the bottom.
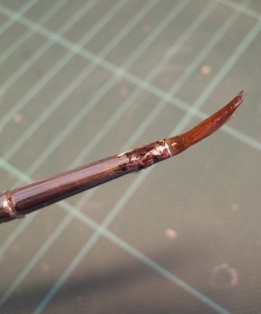
Moreover, never let a brush sit in the water; it will end up with a bent tip. Clean the brush and get it out immediately.
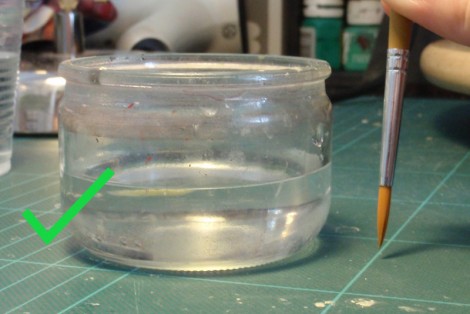
Also you should never let the top of the ferrule dip below the water. Water will seep in, the moisture eventually taking the bristles off from within.
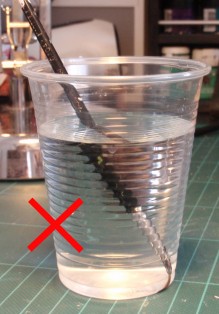
It is therefore necessary to fill a rinsing reservoir with moderation, keeping the water level at a level that this cannot happen. Or simply use smaller water containers.
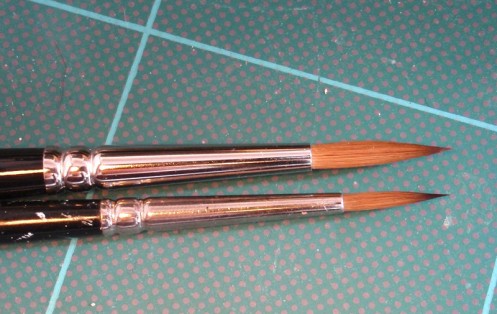
When possible, it is preferable to use one brush to mix paint on the palette while using another for the actual painting. Using a brush to mix colors will end up reducing its life, damaging the tip and making the hairs brittle. Of course, this can be harder to implement as it is more demanding to be switching brushes constantly mid-model. But this is the kind of additional technique that helps ensure a much greater longevity out of a brush.
Maintenance
Finally, here is a small tip on how to maintain your paintbrushes. You can, from time to time, clean your brushes with soapy water. Once rinsed, leave the brushes to stand with the heads down for 24 hours, after lightly soaking the bristles in light olive oil. This will “feed” the hairs, and give them a little facelift. You will then want to, of course, clean the brushes a bit before using it to paint again by painting with clean water until it stops beading.
Conclusion
You now have all the techniques at your disposal to keep a brush useful for years. It can be hard to acquire and implement these small habits, but well worth it!




Thanks for the guide!!, Love your website!!
i would love a guide on wet blending or airbrushing ! You seem to have amazing control without masking your models!
Wet blending could be the subject of another tutorial yep. .
.
For Airbrushing, I really need to improve my skills with this tool before starting anything lol.
Thanks for your comment and happy that you love the website
Julien.