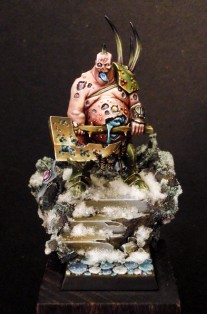
For some time now, I am frequently asked how I create my rocks. Having precisely developed this technique in the tutorials of War for Macragge and Until the End, I told myself that presenting it in detail in the tutorial section, instead of a hidden step by step, would surely be useful.
To work!
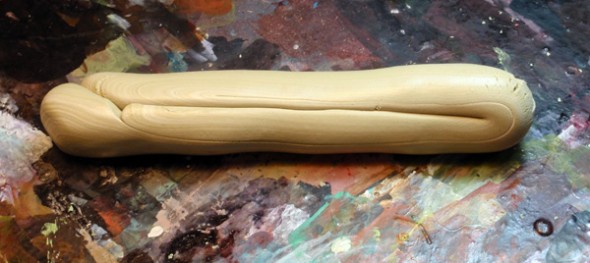
We begin with a simple mix of equal parts. You will thus need Fimo paste (soft or classical, it matters not) and Milliput (White, Terracotta, Yellow Grey; no difference). The most important is thus to make a 50/50 compound. We could make a 2/3 Fimo, 1/3 Milliput, it would be easier to cut but the texture will be “grainier”.
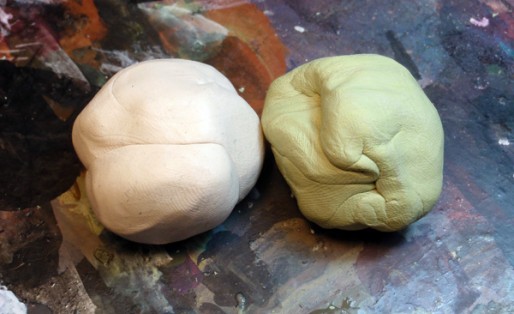
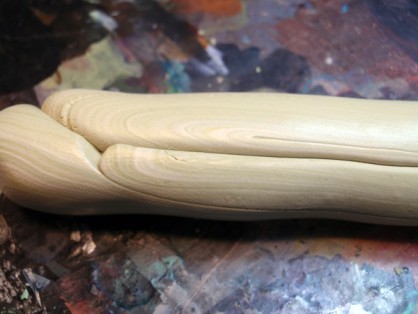
Now, with a little handiwork and patience, we start by mixing it all. Now, there is only one thing to know: THE MIX MUST NOT BECOME HOMOGENEOUS!
Why is that? Well that is because if he is, the Milliput will take over and it will become harder to create shards, as the paste will have become way too solid after being cooked. Also, the less homogeneous the mix is, the more the texture is smooth and curvy.
As such, the less we mix, the more we get a clearly rock-like texture. On the opposite, we will have a darker rock texture.
The perfect mix :
This might sound weird while reading it, but it all becomes clear when doing it.
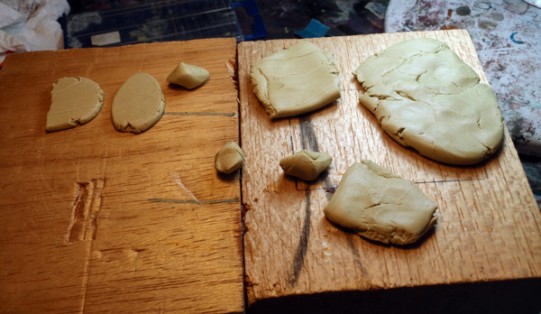
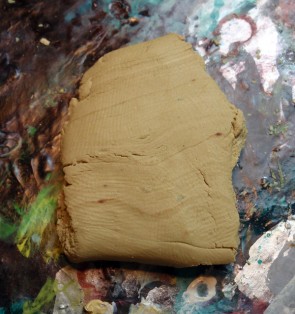
This being so, the goal is to make plates, or small rocks, that we will cook. The ideal time: 25-28 minutes at 250°F.
A plate after the oven :
Watch out, it’s sharp!
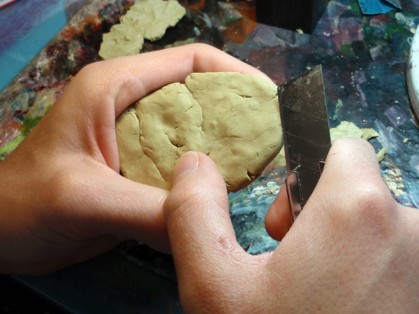
We now only need to take a cutter and cut in the earth !
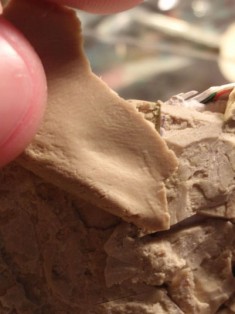
The goal is to bury the blade deep to be able to lift a portion of the plate and rip it apart.
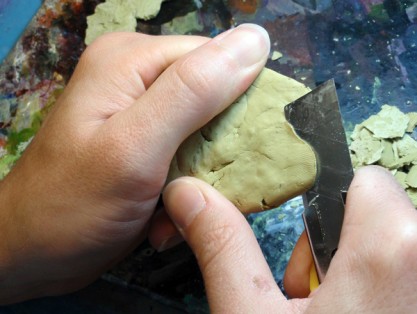
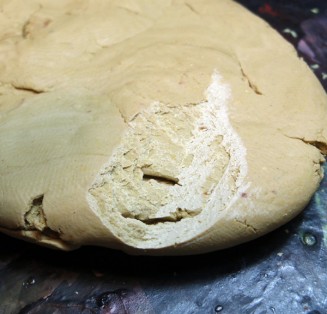
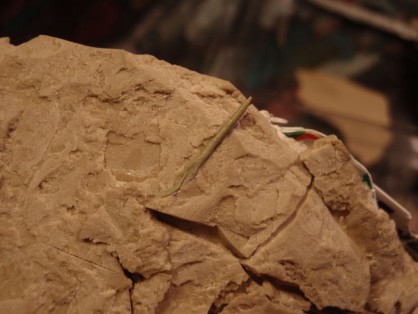
The result: we can see that the texture is captive inside our plate. In fact, this texture is created by the Fimo/Milliput mix. But it is also due to the heterogeneous mix and the presence of air bubbles, which allows the paste to be ripped apart, and thus the creation of this effect.
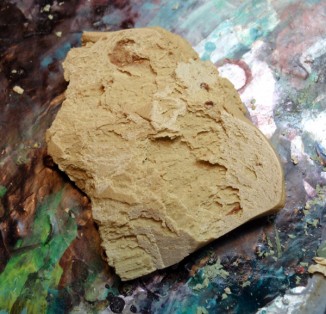
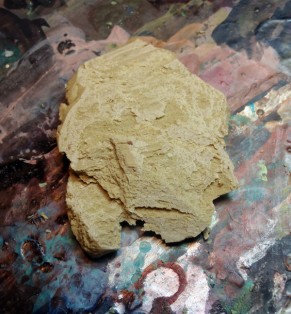
After few minutes of work :
And now the real work begins
This technique is especially convenient, as it allows the creation of the desired rocky volumes. Indeed, not depending on stones, bark or other already existing volumes, we can assemble our rock plates or the shavings as desired. It is thus very easy to create a basic shape for the volumes and then fix, chip by chip, our texture. For this I usually use a piece of foam core.
Again and again !
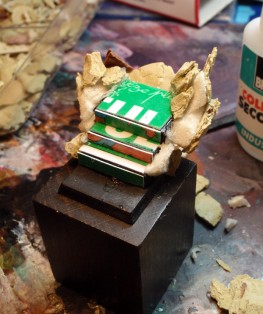
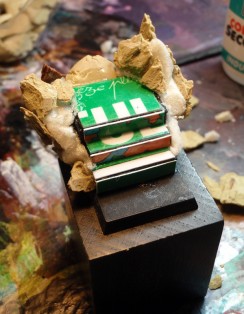
Once the parts glued, the next part is to link them together to obtain a credible united mass effect, and not simply glued bits. To this end, you only need to use one chip as a stamp. And, with Milliput, fill the gap between each piece. After, you only need to press your chip/stamp on the Milliput to create a negative of the rock texture.
(Pictures from the War for Macragge tutorial)
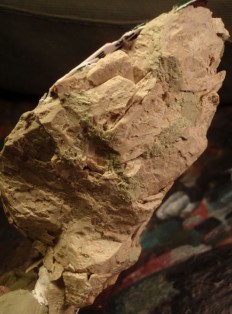
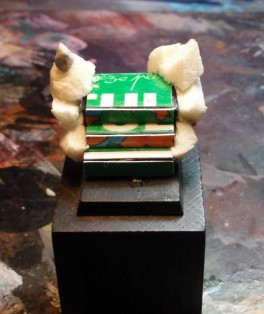
After a few hours of work, the work is done for the plinth of our Lord of Nurgle.
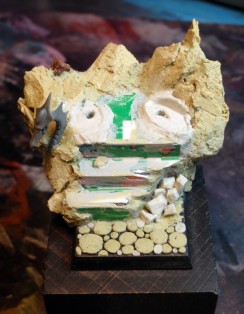
And here is the result after some snow and painting :
Conclusion
This technique is easy to work. However, it is extremely repetitive and time consuming. But even then, the possibility of obtaining a realistic texture, and even better, to be able to have rocky volumes of the desired size, are more than enough to push the balance on the good side. And now, it’s time to get going…


