I continue my wandering throught the maze of the wonderful world of bases. In this issue, it’s a little Mandrake.
It all begins at the idea
Any successful execution usually begins with a strong idea, which is often not easy. From there we must learn to adapt to harsh reality, dictated by our resources both in terms of skill and materials available.
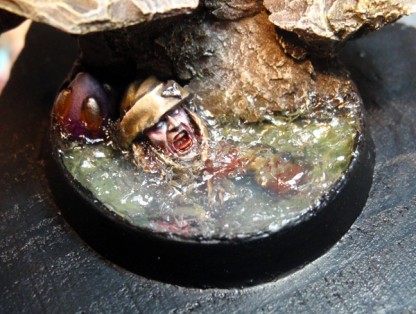
For this mandrake, I saw really rocky ground, overlooking a brackish and foul pool, and in it bathing an imperial corpse. But more than that, I really wanted a vertical element. I imagined the clatter of rusty chains, shaken by the wind … And our black Eldar that materializes.
That’s the starting point. Now to make it happen, starting with figuring out this soon to be famous vertical element. I had initially opted for a simple wall but, soon realized that the composition was wrong, and it would take not one, but two straight structures. Therefore, I turned to forms truly representative Eldar culture, and what better place to find them than to dive in to my Eldar bitz box?
To Work!
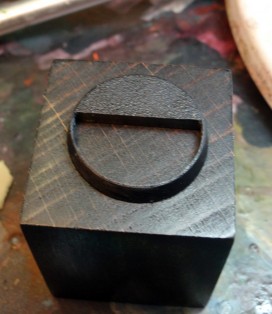
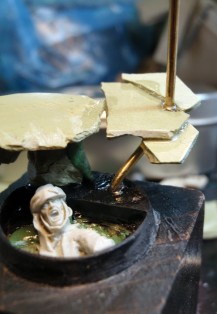
I start by cutting the base to create the area where I will pool my water.
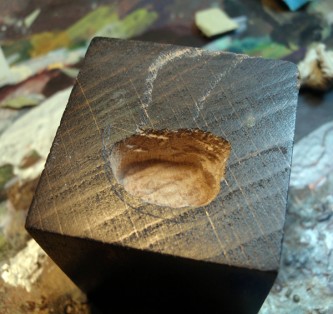
I then drilled the base, in order to sink in the corpse of our imperial.
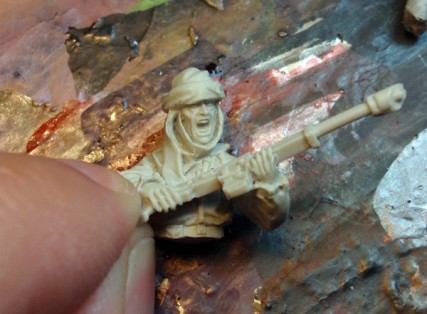
Our corpse. Is a simple Tallarn Forgeworld sniper that had collected around four years of dust. I removed the gun.
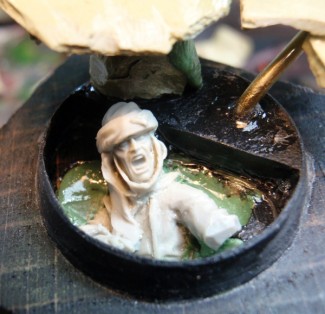
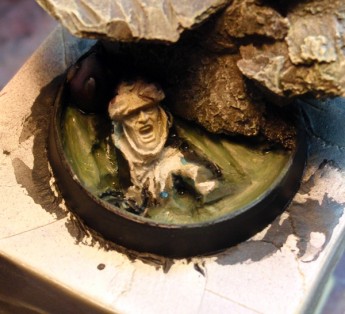
Then pushed our guy into his hole, which I then filled in with Green Stuff.
You can see a brass rod sticking out of the base. This serves two purposes. First, since the underside of the base is half filled with Green Stuff, the rod allows me pin the display to the base. In addition to good adhesion to the two-component Araldite. Its second use is that it serves me as a skeleton for the future Eldar structures, as well as a bonding area for the rock.
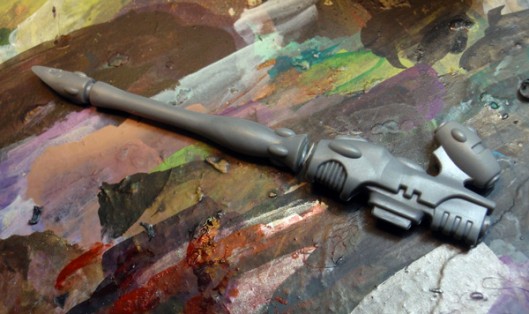
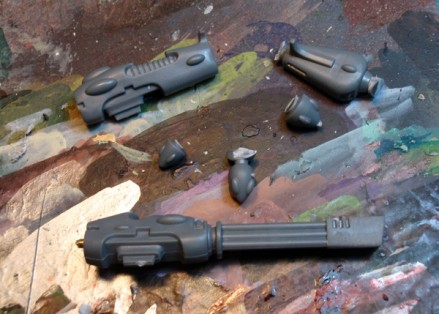
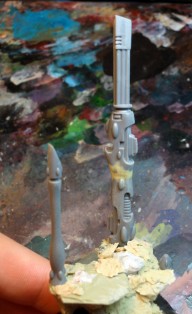
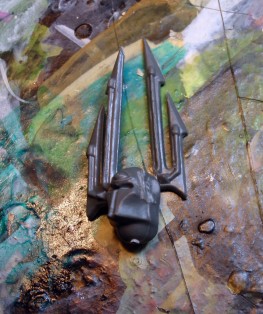
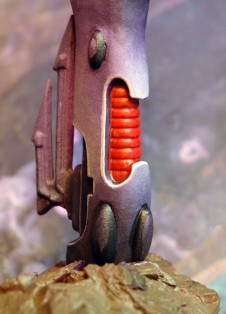
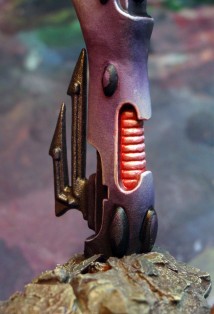
Speaking of structures, this is what I chose to build them with. Simple weapons, from the Eldar Wraithlord kit. We must never neglect bitz lying around!
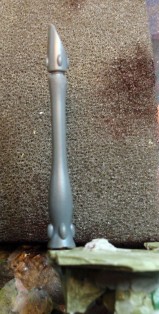
I have cut them into several pieces, and begun to sort what I intend to keep or discard, and most importantly started to decide on the shapes of my structures.
I start with the left stick.
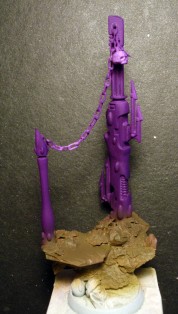
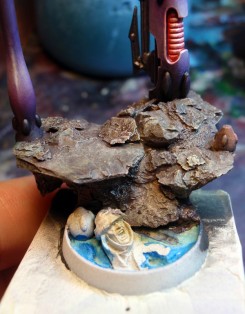
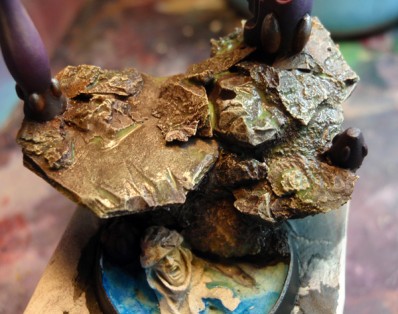
Then, the right one. Those familiar with my work will recognize my usual rock work. This is my traditional blend Fimo/Milliput 50/50.
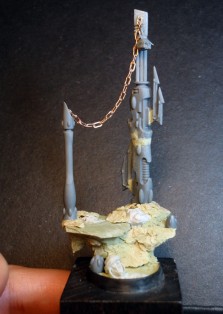
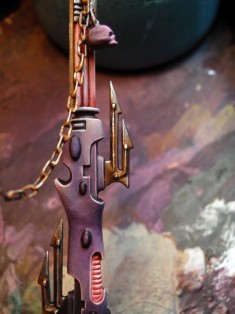
Looking at the next picture, one might if this was from the wrong article. Not at all! To make our structures more aggressive, I thought to add spikes. And what better than these “horns” from the head of the Chaos Terminator Sorcerer ? I glue these pikes. Then I began to string my chains.
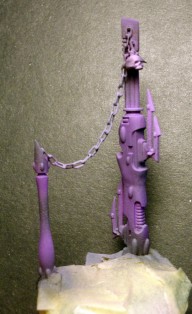
To keep the shape where I wanted it, I simply glued each link between the pikes, until I had obtained the desired shape. The tension is more or less rigid depending on how many links you glue. At first, my chain was too soft, I did not have the curve I wanted. So I simply cut a few links to make it shorter. Now for the paint!
The structures
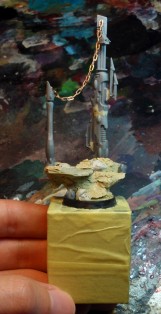
I protect the base by covering it with masking tape.
A good white undercoat later and it’s time to move to the hard work. I start the base structures with GW Liche Purple. I used an airbrush to save time.
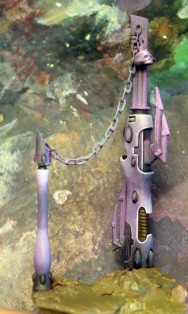
I start shading by adding black to my base and I highlight up the PA Ivory, also using a touch of GW Bleached Bone.
Back to the brush work. I am making the transitions cleaner. Looking for places where the colors are not quite where I want them yet. I also starting to correct contrasts.
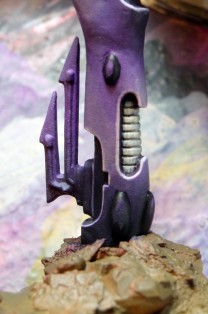
I decided to make interior very bright red and illuminate, simulating light effects in the structure. I begin by basing the white area. The best red comes from a white base compared to a black.
I make a pass with a wash made of a 50/50 mix of GW Blood Red and red ink.
I follow up with the Ivory PA. The goal here is to correctly simulate the liveliness of the area.
Metals
We come around to the metals. They are simply based with a mixture of black and Boltgun Metal GW. I shade with black, highlighted with Mithril Silver GW, then I finish with points of light using PA Air Chrome. I finish the metals with a rust effect, to continue on the decrepit, aged, unhealthy theme. This is simply accomplished with P3 Bloodstone keys, under GW Fiery Orange.
The Rock
The rock was based on a mixture of Olive Ordic P3 and GW Graveyard Earth. With a ratio of about 60/40. I use a wash of Hormagaunt Purple GW over almost everything, then add black (50/50) and focus on the recesses to shade them up.
Then I begin brushing Bleached Bone over Naples Yellow (Lefranc Bourgeois). All followed by a green wash (GW Catachan Green, Camo Green GW). Before leaving the last light brushing of the base, I conclude with a final wash of GW Scorpion Green. To lighten the rocks up a touch.
The bottom of the water is simply painted a dirty green, to preserve the original idea of impure water.
Water
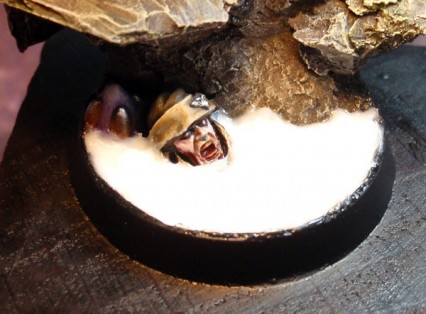
For the water I use Super Heavy Gloss Gel Liquitex. As usual with this gel, keeping it thin is essential. I did not do this, I tried to do it in one pass.
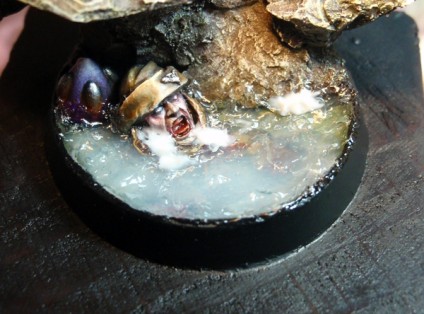
I should have done it in thin layers. Because I did it in one go it took two weeks before the water became transparent. Once it was clear I added a thin layer to the top to add waves and disturbed water.
Water during drying.
I finish my water surface by simulating the diffusion of the blood of our freshly cut corpse into the water. For this I used red ink and brown ink, adding more and more the latter when I approached the Imperial. I finish it off with General Ultra Shiny Liquitex varnish to keep the water nice and shiny.
Say Cheese!
Nothing left to do but place our mandrake looming above its last prey. And tadaaa!
The idea of this base, fully realized after finishing painting the figure (something extremely rare for me), was really to integrate it in a setting that reflects not only the colors used on the figure, but also the history of the Dark Eldar, and the image we make of it. I think we succeeded. You be the judge. But in any case, I hope it will be useful to you!
And if you want to see more photos of this model click here.


