Thanks to Mathieu Fontaine, for the whole traduction of this step by step. Again, you done an incredible job, i can only be thankfull for this for maybe eternity ![]() !
!
Link to:
Genesis & building, The Carnifex, The Space Marine, The base, The end.
Painting the base.
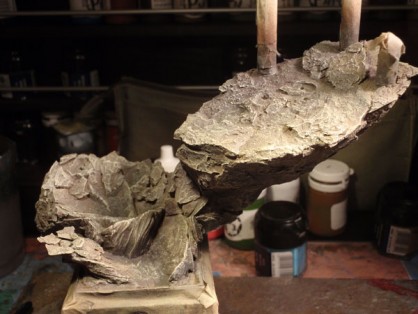
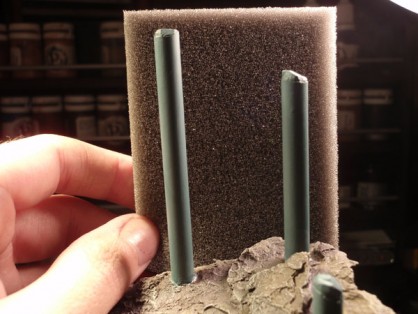
I mask the columns to avoid overspill. The rock will mostly be drybrushed in between washes so I do not want the dust from the drybrushing to stick to the columns.
With an airbrush, I start the paint job with Bootstrap Leather P3 and Olive Ordic P3.
Everything is shadowed with Hormagaunt Purple GW Fondation and black.
Highlighted with white.
A wash of Graveyard Earth GW is applied on the overall area. The rock is then drybrushed with Jack Bone and then white.
Washes of Liche Purple GW + Snakebite Leather are applied.
I drybrush with Jack Bone. To complete the rock I add shadows with washes of Leviathan Purple GW, chestnut ink and Liche Purple.
I remove the masking tape from the columns and mask the ground once again to avoid overspill.
They are based with Coal Black P3 and Jack Bone P3.
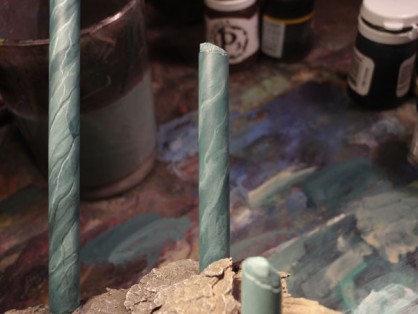
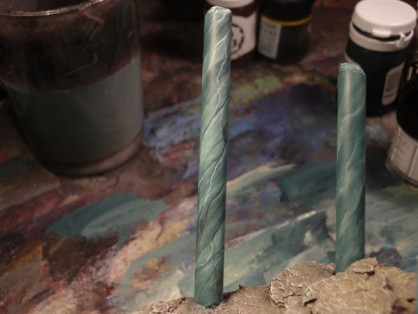
To paint marble, a long text would not help. I still have not understood how to realise great marble, I just understood the way to paint it. Everything is in the stroke and if I did not see John Papoulakos give a demonstration after the Canadian Games Day 2009, I would have never made an attempt at it.
It is essential to be spontaneous and not overthink it. You really have to play with the pictural touch.
The lines cannot be the same thickness, same opacity and it is a must to work in the fresh between the base, shadows and highlights.
Personally the lights are built up to white on a Coal Black base and the shadows are done by adding black ink.
We can see the difference between two columns, one in progress before the veins, shadows and highlights and the other one almost finished.
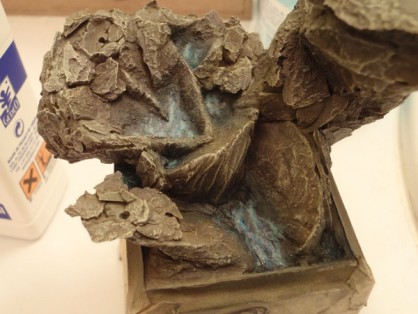
Having planned to add ice, I paint the areas supposed to receive ice. For that I play with contrasts between light blue, white and black. I do not try to get perfect blending since once the resin will be poured we will not see the discrepancies.
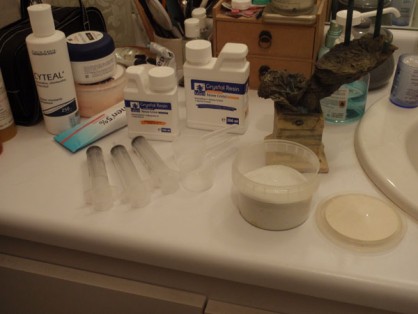
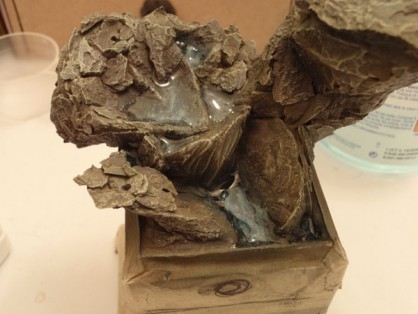
It is now time to pour the resin. This one has no odour or emanation but it is still preferable to pour it outside or in a well ventilated room. So I grab resin, white paint and powdered glass. Powdered glass is a dangerous product that requires you to wear a mask. Be careful to not spill it.
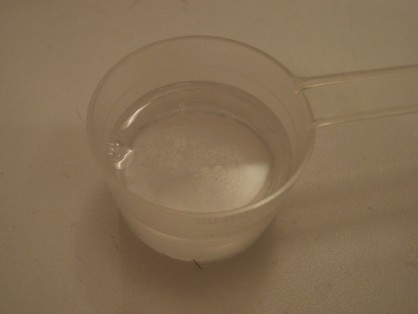
In a cup I mix my resin and the catalyser. I then add a pinch of white paint to avoid having a totally transparent resin.
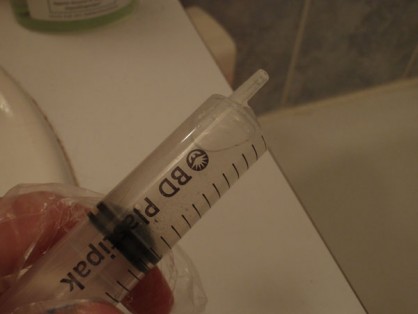
A syringe is used to pour the mix.
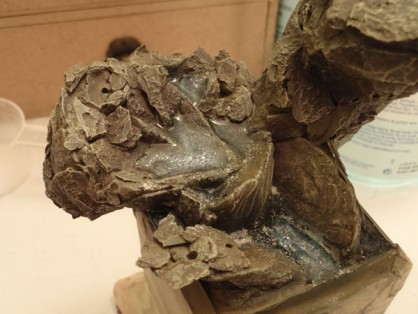
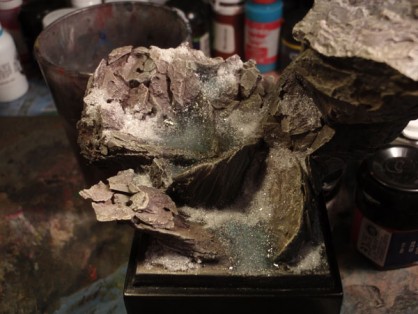
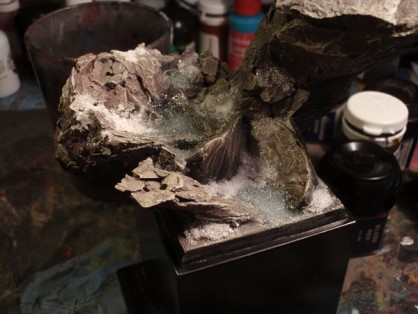
During the next 12 hours I added the powdered glass to my resin to create the iced surface.
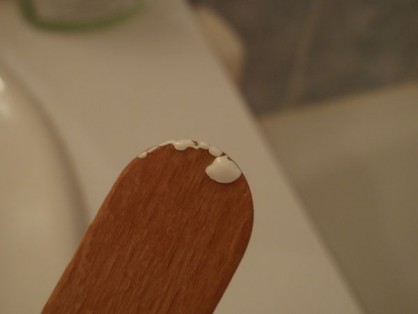
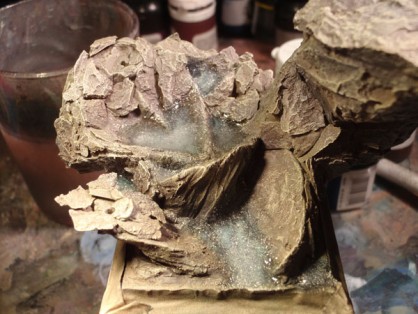
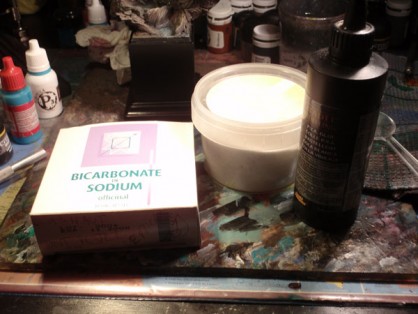
Once the resin is dry, we start with the snow. I use wood glue and once again powdered glass. I was planning to use bicarbonate at first but change my mind.
I do a first coat and let it dry overnight.
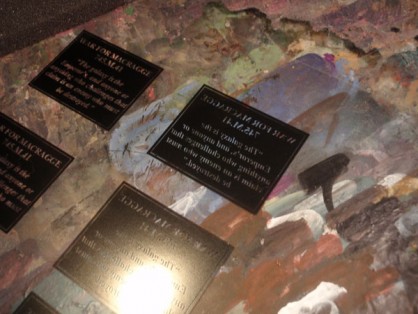
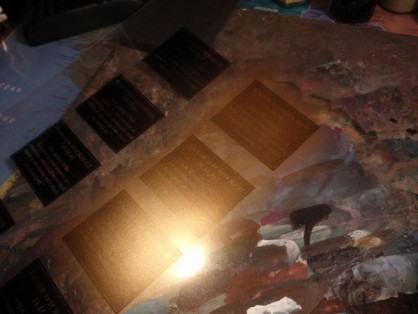
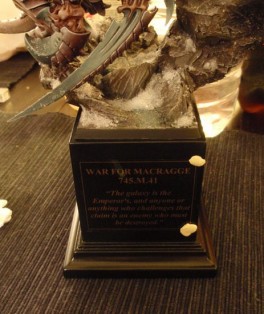
Once the second coat of snow is dried, I start the title plaque. I print it on a special transparency sheet which has a rough side and a smooth side. The title is printed in a mirror effect on the rough side of the sheet. In this way we can clearly read the title on the smooth side.
Shinning Gold GW is then airbrushed.
The last step, glue it to the base!
I even have the luxury of being done two days early!
Now you only have to click on link to see the finish piece !
Link to:
Genesis & building, The Carnifex, The Space Marine, The base, The end.


